Table of Contents
Introduction to Ninja Creami Desserts
If you’re an ice cream lover (and let’s be honest, who isn’t?), the Ninja Creami is a game-changer. This versatile kitchen gadget lets you create smooth, creamy, and fully customizable frozen desserts at home, whether it’s indulgent ice cream, a fruity sorbet, or even a high-protein, low-sugar post-workout treat.
Unlike traditional ice cream makers, which often require churning and large amounts of heavy cream, the Ninja Creami processes frozen mixtures into silky perfection using its powerful blades. It’s a faster, simpler, and more creative way to make your favorite frozen treats.
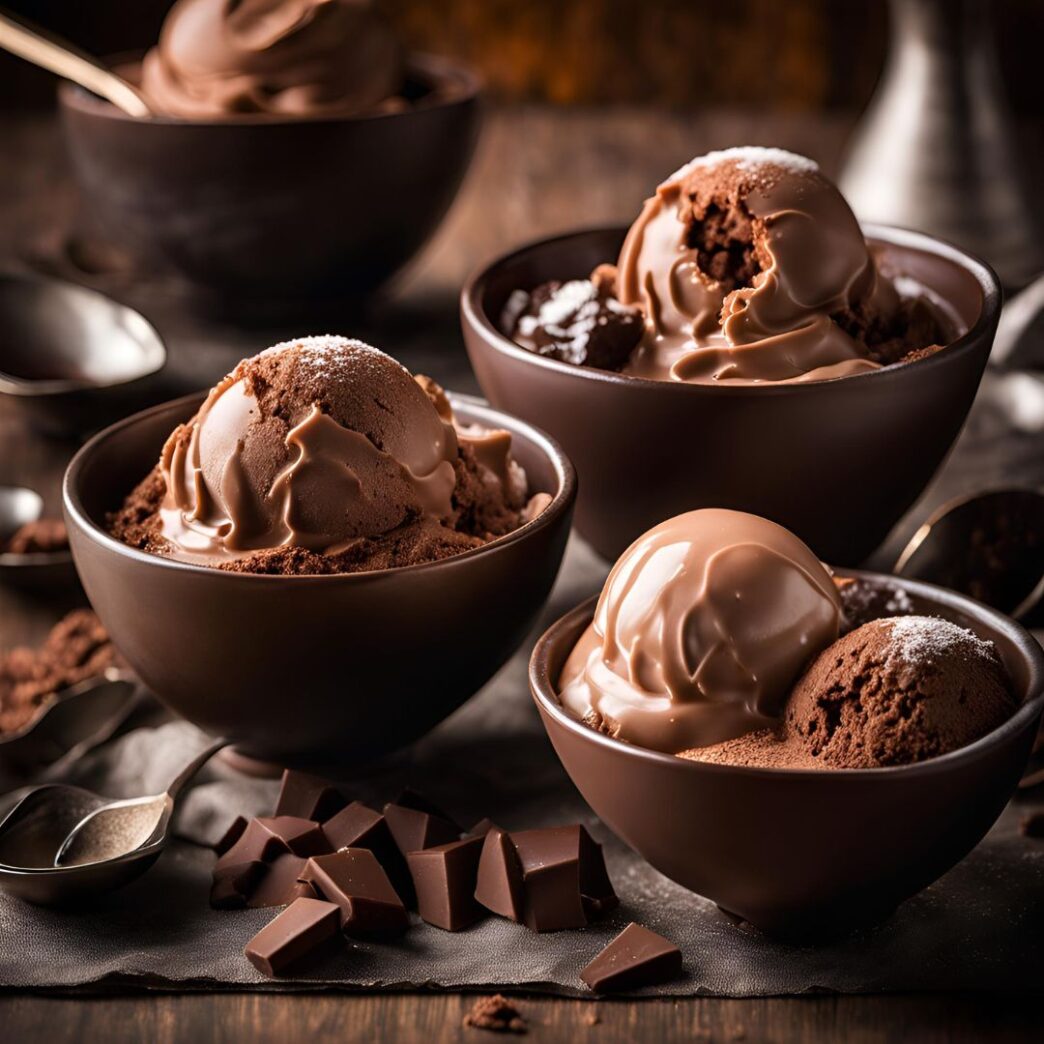
One of the most exciting things about the Ninja Creami is the ability to make desserts tailored exactly to your tastes. Want a decadent chocolate ice cream with peanut butter swirls? You got it. Craving a refreshing mango sorbet? Done. Need a dairy-free or sugar-free option? No problem. The Ninja Creami gives you full control over your ingredients and flavors, turning your kitchen into a gourmet dessert shop.
In this recipe, we’ll explore how to make a rich, creamy chocolate dessert using the Ninja Creami. This classic flavor is a great starting point because it’s universally loved and easy to adapt with mix-ins or variations. By the end, you’ll not only have a delicious dessert but also the confidence to experiment with your own creations.
Description of the Recipe
This Ninja Creami chocolate dessert is everything you’d want in a frozen treat: indulgent, smooth, and bursting with deep chocolate flavor. The base is made with a blend of milk, cream, cocoa powder, sugar, and a touch of vanilla extract, creating a balance of sweetness and richness. The result is a dessert that feels as luxurious as it tastes, perfect for satisfying your sweet tooth or impressing guests.
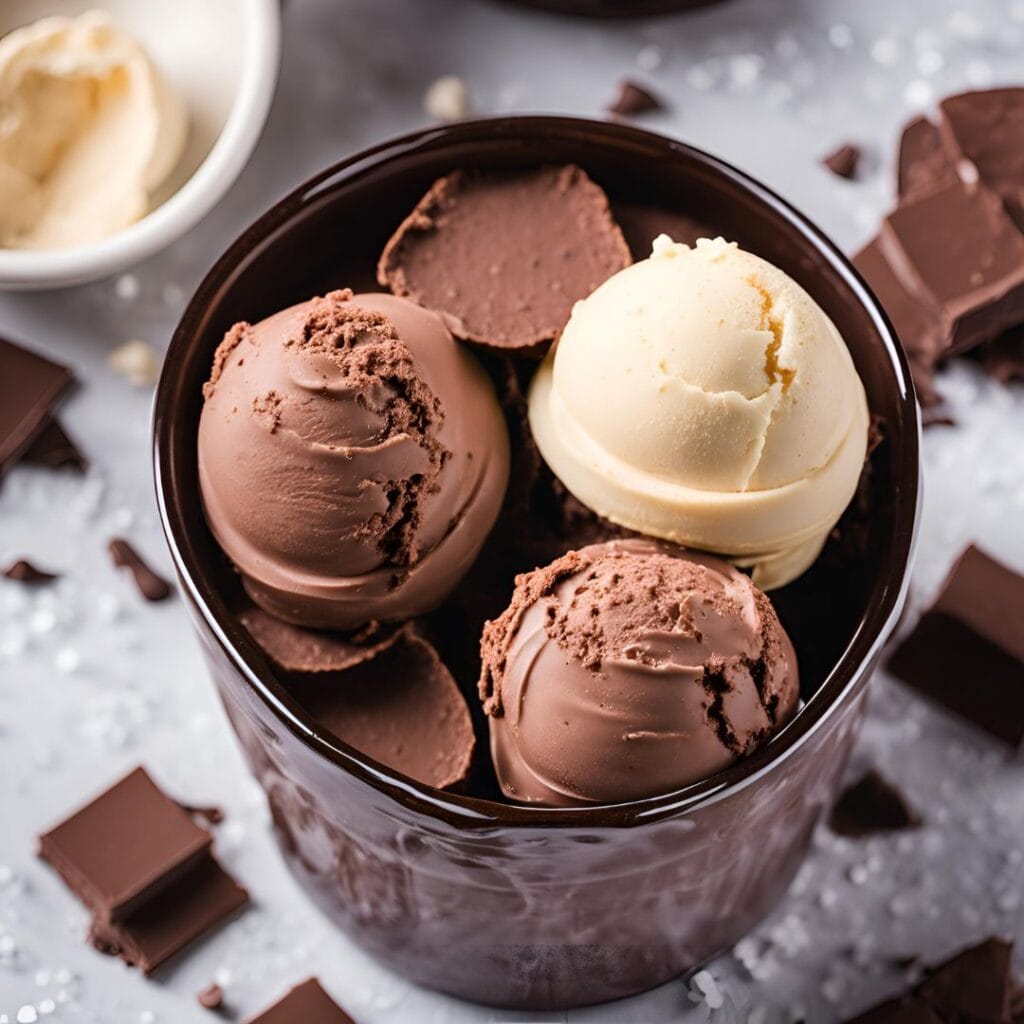
The magic happens during the spinning process. After freezing the base overnight, the Ninja Creami transforms it into a velvety texture that rivals high-end ice cream brands. The powerful blades break down the frozen block into tiny, creamy particles, ensuring a perfectly smooth consistency without the need for churning or additional thickeners.
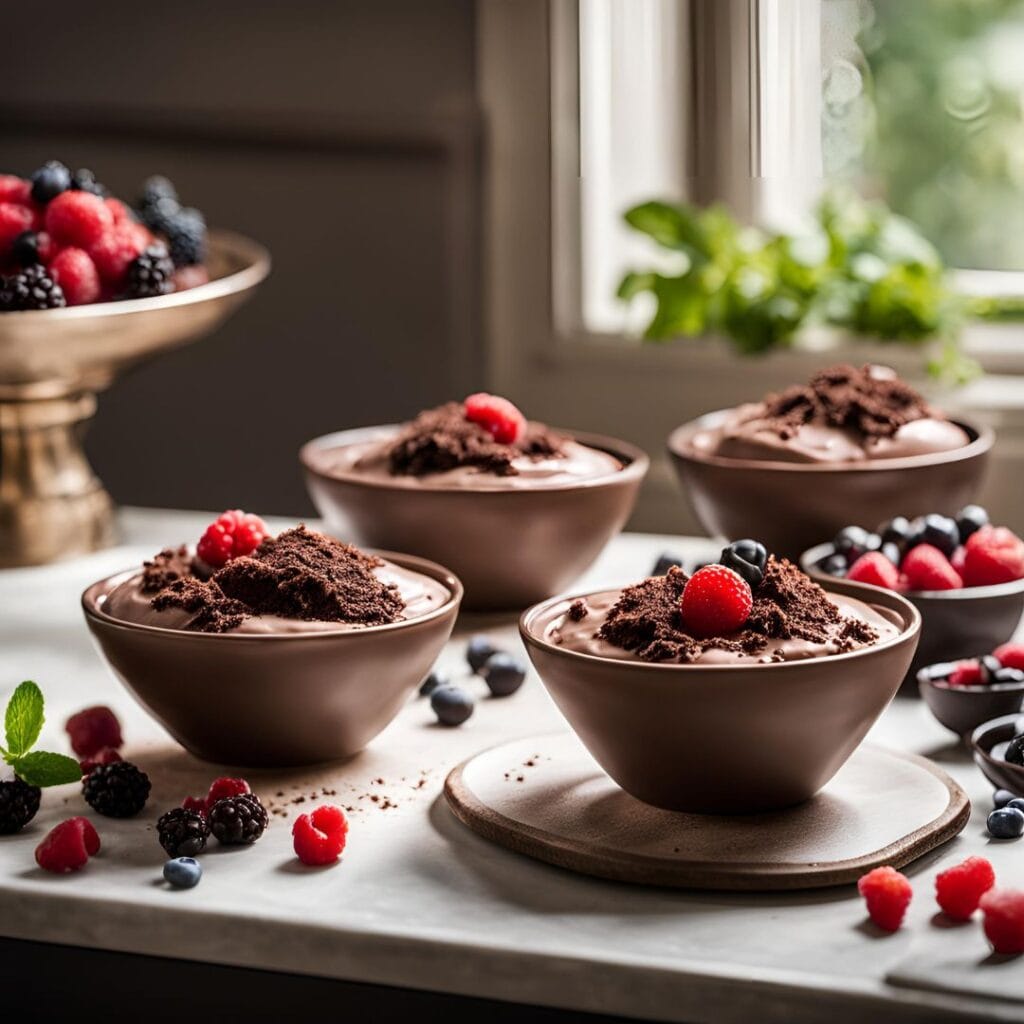
And the fun doesn’t stop there. You can add mix-ins like chocolate chips, cookie crumbles, or caramel swirls to take your dessert to the next level. Whether you enjoy it as-is or jazz it up with creative add-ons, this chocolate Ninja Creami dessert is guaranteed to be a hit.
History and Origin of the Recipe
Ice cream has been a beloved dessert for centuries, with its origins tracing back to ancient China, where frozen treats made with snow, honey, and fruit juices were enjoyed. Over time, ice cream evolved into the creamy delight we know today, thanks to advancements in refrigeration and food science.
The Ninja Creami brings this rich history into the modern age. Unlike traditional ice cream makers that use churning to aerate the mixture, the Ninja Creami employs powerful blades to shave and mix frozen bases into smooth desserts. This innovation eliminates the need for traditional ice cream-making techniques, making the process faster, more efficient, and more accessible.
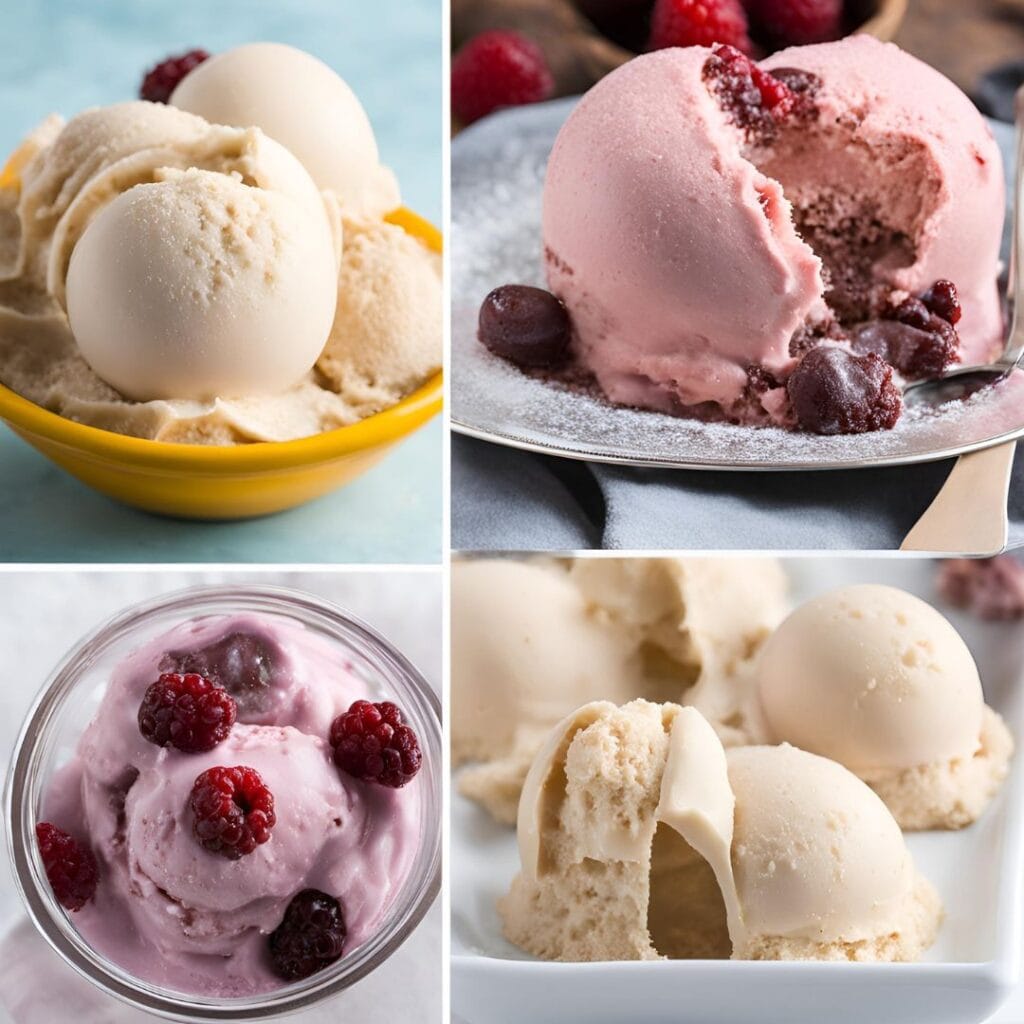
The rise of at-home dessert machines like the Ninja Creami reflects a growing interest in customizable and health-conscious cooking. As consumers seek to control the ingredients in their food, gadgets like the Creami have become essential tools for creating desserts that are as healthy—or as indulgent—as you want them to be.
This chocolate dessert recipe is inspired by classic ice cream flavors but adapted for the Ninja Creami’s unique capabilities. It’s a nod to tradition with a modern twist, offering the ultimate balance of flavor, texture, and creativity.
Personal History with the Recipe
The first time I used my Ninja Creami, I was both excited and skeptical. Could this sleek little machine really turn a block of frozen liquid into smooth, creamy perfection? I decided to start with chocolate—classic, simple, and a flavor that everyone in my household loves.
I remember pouring the chocolate mixture into the pint container, carefully placing it in the freezer, and waiting 24 hours. When the time finally came, I locked the container into the Ninja Creami, hit the “Ice Cream” button, and watched as the blades worked their magic. The result? Pure chocolate heaven.
The texture was so creamy and smooth, it felt like something you’d get from a gourmet ice cream shop. And the flavor? Rich, chocolaty, and perfectly balanced—not too sweet, not too bitter. My kids couldn’t believe it was homemade, and I felt like a dessert wizard.
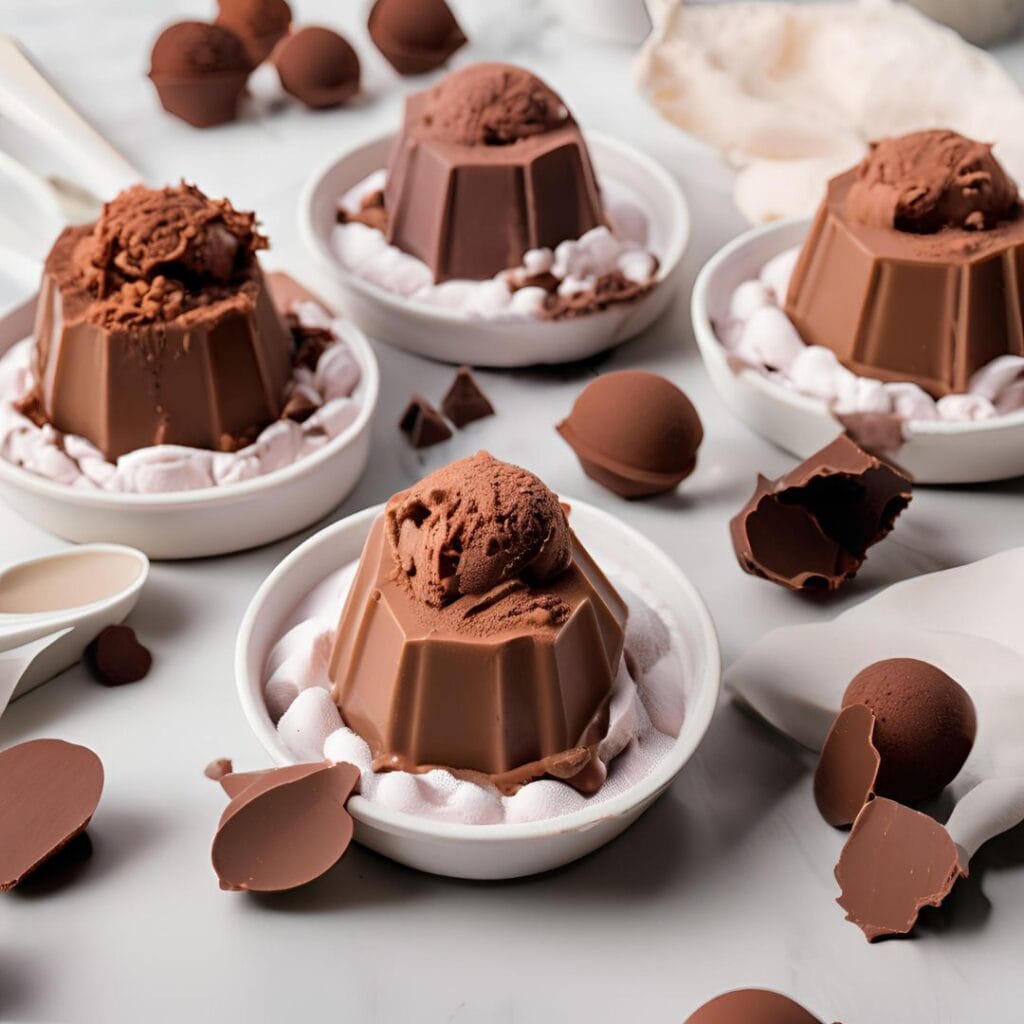
Since that first batch, I’ve used the Ninja Creami to make everything from fruity sorbets to low-sugar protein ice creams. It’s become a staple in my kitchen, and chocolate remains my favorite flavor to experiment with. One of my most memorable creations was adding marshmallow swirls and crushed graham crackers to make a s’mores-inspired ice cream. It was a huge hit at a summer barbecue and a recipe I still get requests for!
Why the Recipe is Worth Making
Here’s why you should try this Ninja Creami chocolate dessert:
- Unmatched Texture: The Ninja Creami creates a velvety smooth texture that’s hard to achieve with traditional methods.
- Customizable: You can adjust the sweetness, add mix-ins, or tweak the base to suit your dietary needs or flavor preferences.
- Healthier Options: By controlling the ingredients, you can create desserts that are lower in sugar, higher in protein, or dairy-free.
- Easy to Make: The process is straightforward and doesn’t require any special skills or complicated techniques.
- Perfect for All Ages: Whether you’re making a treat for kids, hosting a dinner party, or indulging yourself, this dessert is always a hit.
- Endless Possibilities: Once you master the basics, the Ninja Creami opens up a world of creative dessert options.
Ingredients
For the Chocolate Base:
- 1 cup whole milk (or a dairy-free alternative like almond or oat milk)
- ½ cup heavy cream (or coconut cream for dairy-free)
- ¼ cup unsweetened cocoa powder
- ⅓ cup granulated sugar (or sugar substitute for a low-sugar option)
- 1 teaspoon vanilla extract
- Pinch of salt
Optional Mix-Ins:
- Mini chocolate chips
- Crushed cookies
- Swirls of caramel, peanut butter, or marshmallow fluff
Tools to Make It
- Ninja Creami machine
- Ninja Creami pint container
- Whisk
- Small saucepan (optional, for heating ingredients)
- Measuring cups and spoons
Instructions
1. Prepare the Chocolate Base
- In a mixing bowl, whisk together the milk, heavy cream, cocoa powder, sugar, vanilla extract, and salt until smooth.
- If the cocoa powder doesn’t fully dissolve, gently heat the mixture in a small saucepan over low heat, whisking constantly. Cool completely before freezing.
2. Freeze the Mixture
- Pour the chocolate mixture into the Ninja Creami pint container. Secure the lid tightly and place the container upright in the freezer.
- Freeze for at least 24 hours to ensure the base is fully solidified.
3. Spin in the Ninja Creami
- Remove the frozen pint container from the freezer. Insert it into the Ninja Creami and lock it into place.
- Select the “Ice Cream” setting and let the machine work its magic.
4. Add Mix-Ins (Optional)
- After the initial spin, create a well in the center of the ice cream and add your desired mix-ins.
- Select the “Mix-In” setting to evenly incorporate them.
5. Serve and Enjoy
- Scoop the finished dessert into bowls or cones and serve immediately.
- Store any leftovers in the pint container and re-spin before serving for optimal texture.
Tips and Best Practices
- Freeze Properly: Ensure the pint container is placed upright and undisturbed in the freezer for even freezing.
- Taste Test the Base: Before freezing, taste the mixture to adjust sweetness or cocoa levels if needed.
- Room-Temperature Mix-Ins: Avoid adding frozen mix-ins, as they can affect the texture.
Personal Experience to Improve the Recipe
One trick I’ve discovered is to use a blend of cocoa powder and melted chocolate for a deeper, richer flavor. I’ve also started experimenting with infused bases—adding a pinch of cinnamon for a Mexican chocolate vibe or steeping the milk with coffee grounds for a mocha-inspired dessert.
Tips for Variations, Substitutions, and Modifications
- Dairy-Free Option: Use almond or coconut milk and coconut cream for a vegan-friendly dessert.
- Low-Sugar Version: Replace granulated sugar with monk fruit sweetener, stevia, or erythritol.
- Creative Mix-Ins: Try crushed peppermint candies during the holidays or chopped nuts for added crunch.
General Questions About the Recipe
Can I Make This Without a Ninja Creami?
This recipe is designed for the Ninja Creami, but you can adapt it for a traditional ice cream maker or freeze and blend in a high-powered blender (though the texture may differ).
How Do I Store Leftovers?
Store leftovers in the pint container in the freezer. Re-spin before serving to restore the creamy texture.
Nutrition Info
Per serving (based on 4 servings):
- Calories: ~230
- Protein: 4g
- Fat: 15g
- Carbohydrates: 20g
Making desserts with the Ninja Creami is a fun and delicious way to explore your creativity in the kitchen. This chocolate recipe is just the beginning—you’ll quickly find yourself experimenting with endless flavors and variations. Give it a try, and get ready to fall in love with homemade frozen treats!


